
Home painting is frequently better than external house painting because you don’t have to deal with external elements. There are also a variety of steps to be taken to paint the walls properly.
1. Plan the walls
Start planning the walls by removing outlets or lighting systems (if possible). Next, look for any flaws on your walls. If you find scratches, toothbrushes, or gaps inside your walls, fill them in with caulk or spackle. There are also some DIY tricks for covering nail holes. When the fixes are dry, smooth them over and clean the walls with a wet sponge.
2. Tap and disseminate cloths
Type the curtains, door frames, and mouldings with painter’s tape to remove mess while painting. If you do not intend to paint the ceiling, continue to tape the perimeter. Applying the painter’s tape successfully makes sure it’s flat and even enough that the color does not bleed.
You are using drop cloths to shield the floor from painting drops and splatters. This is especially important when you rent your house. You can also cover your meals with drop cloths — or erase them when painting from the room. Taking the necessary precautions to prevent furniture loss as you move your furniture around.
3. Sand and prime
Cut the first in your room before beginning the whole wall. Cutting in is the act of drawing the space along the edges and frames by 2 or 3 inches of color. This technique removes drips and splatters and produces a professional appearance.
A handheld brush is the best option for this method. Paint the first in three parts, from upper to end.
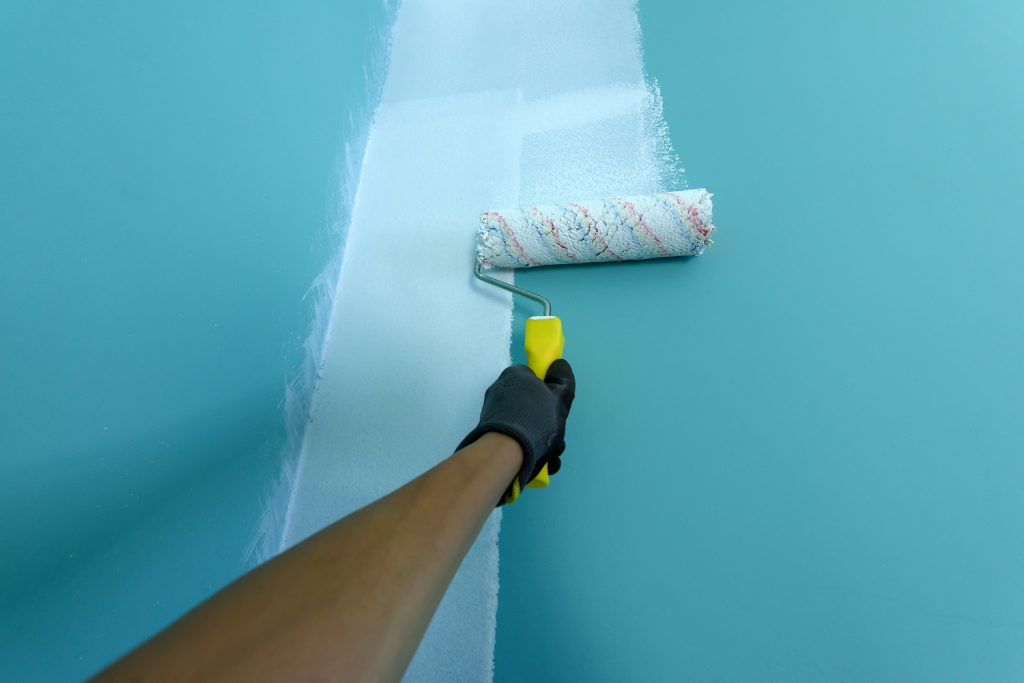
4. Censored walls and paint them
Following the similar way as the first, cut your desired paint onto the walls. Paint one wall at a time for best performance. This kind of applying the paint smoother when it is already wet. Act in V or W-shaped strokes from top to bottom. Wait two to four hours before adding a second coat. Then stick with the same procedure with the first coat.
5. Refined
You may want to cover some other paint in cans securely after painting. Make sure the colors and rollers are cleaned with warm foamy water and any painter’s adhesive tape removed.
6. Paint on a well-cleaned wall.
The paint will not stick if the walls are dusty. You need to clean the exterior walls of your house to ensure the completion of your painting job. When you employ a specialist painting firm, make sure that the company you hire washes all its walls before the real painting starts. After all, you can’t be sure how pure they are or though they look clean with all of the weather elements polluting the outside walls all year long.

7. Don’t decor at bad weather.
If you paint outside walls in winter, the intensely cold temperatures can steadily and unevenly cause the paint to drought. The colour can heat up too easily during the season’s sun, which does not yield the smoothest results. For an unbroken finish, always ensure your painting provider is consulted during the perfect season to launch your painting project.
8. Hire a professional painter
Any professional acknowledges that poor or harsh weather is not suitable for home painting. Having to work with professionals, you won’t have to deal with all the issues and hassles that can come with the process of house painting.
If you are based on New York and you are looking for a talented and professional contractor painter don’t forget to reach out to KC Alb Group.